I have been working on the second project and realised that I wanted to completely finish my typography work so went back to it and started to redo the hands.
I print screened how I did it this time, I had a little problem last time because when cutting out the back ground I took the easy root of using the “Magic Want Tool”. Where as this time I used the pen tool and pointed the parts of the hand singly then used the path tool which cut the background out. Then I edited the hand its self and made sure it was plain and had no wristbands or tattoos, this was the same as I did it last time, then this time to change the colour I simply just used black and white the automatic version and then saved it as a png so it was still transparent.
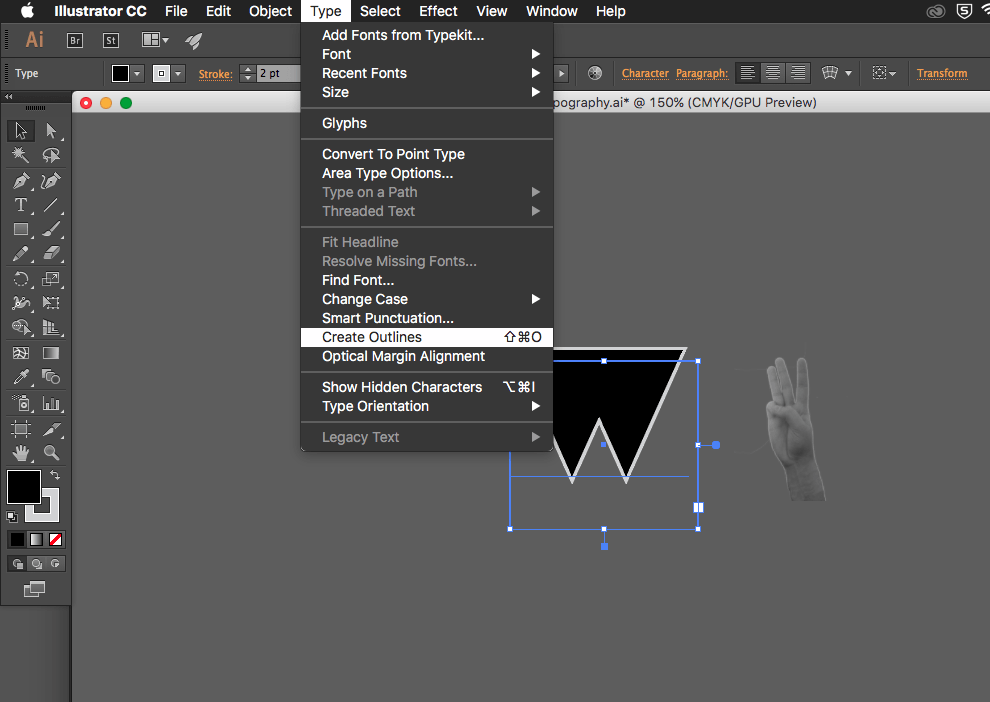
The second part of how I put the image on to the actual letters, at first I soon realised the letters were still a font and I had to change the font to an outline. That way I was able to have the image inside of the letter which will look professional and what I would like it look like.
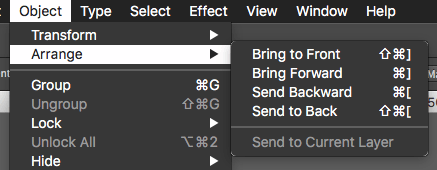
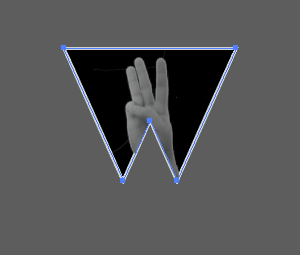
In more detail to the pictures, firstly like I mentioned I had to make the font an outline, then duplicate the font. I copied the letter then paste in place so it was perfectly inline with the other letter, I then had to make sure the image was in the right place where I would like it to be in the letter. After making sure it was in the correct place, I arranged the image to be at the back of everything and held down cmd and clicked on one of the letters. That way I could then right click and “Make Clipping Mask”, which gave me my final result of my sign language typography.


